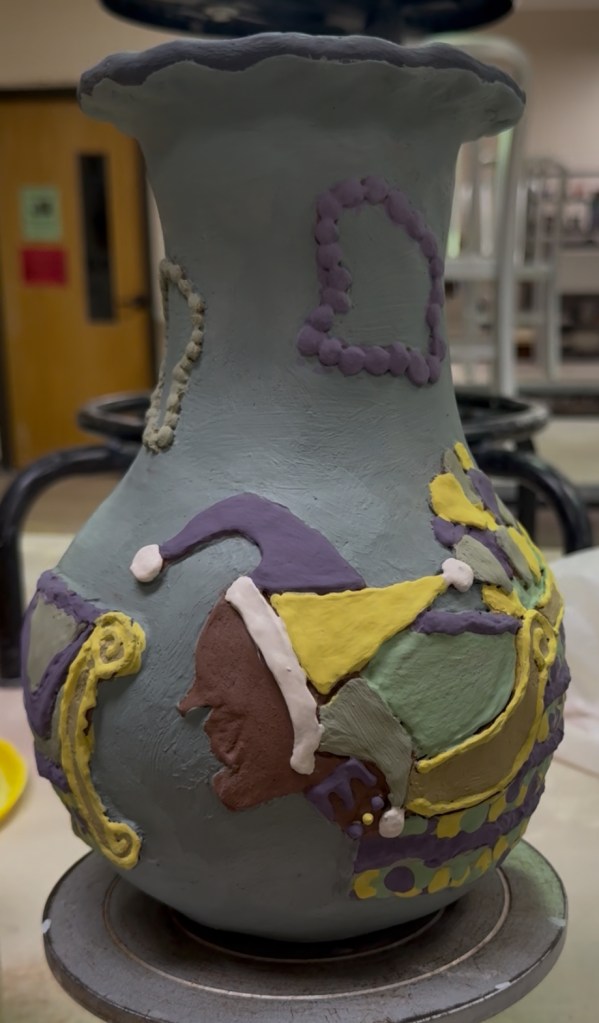
10 Inch Vase
Mardi gras coil vase
For my ceramics class were working on a ten inch coil vase as our eighth technique. To make our vases we started with our last pinch form as the base, then applied coils layer by layer and smoothed them out. After completing the form of the vase, we added on our Mardi Gras designs. For my design I decided to do three floats along the round section of the vase and varying sizes of beaded necklaces being thrown all around the neck of the vase.
Ceramic forms
-
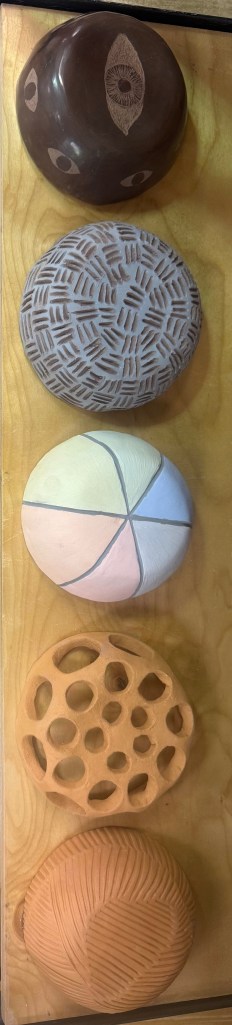
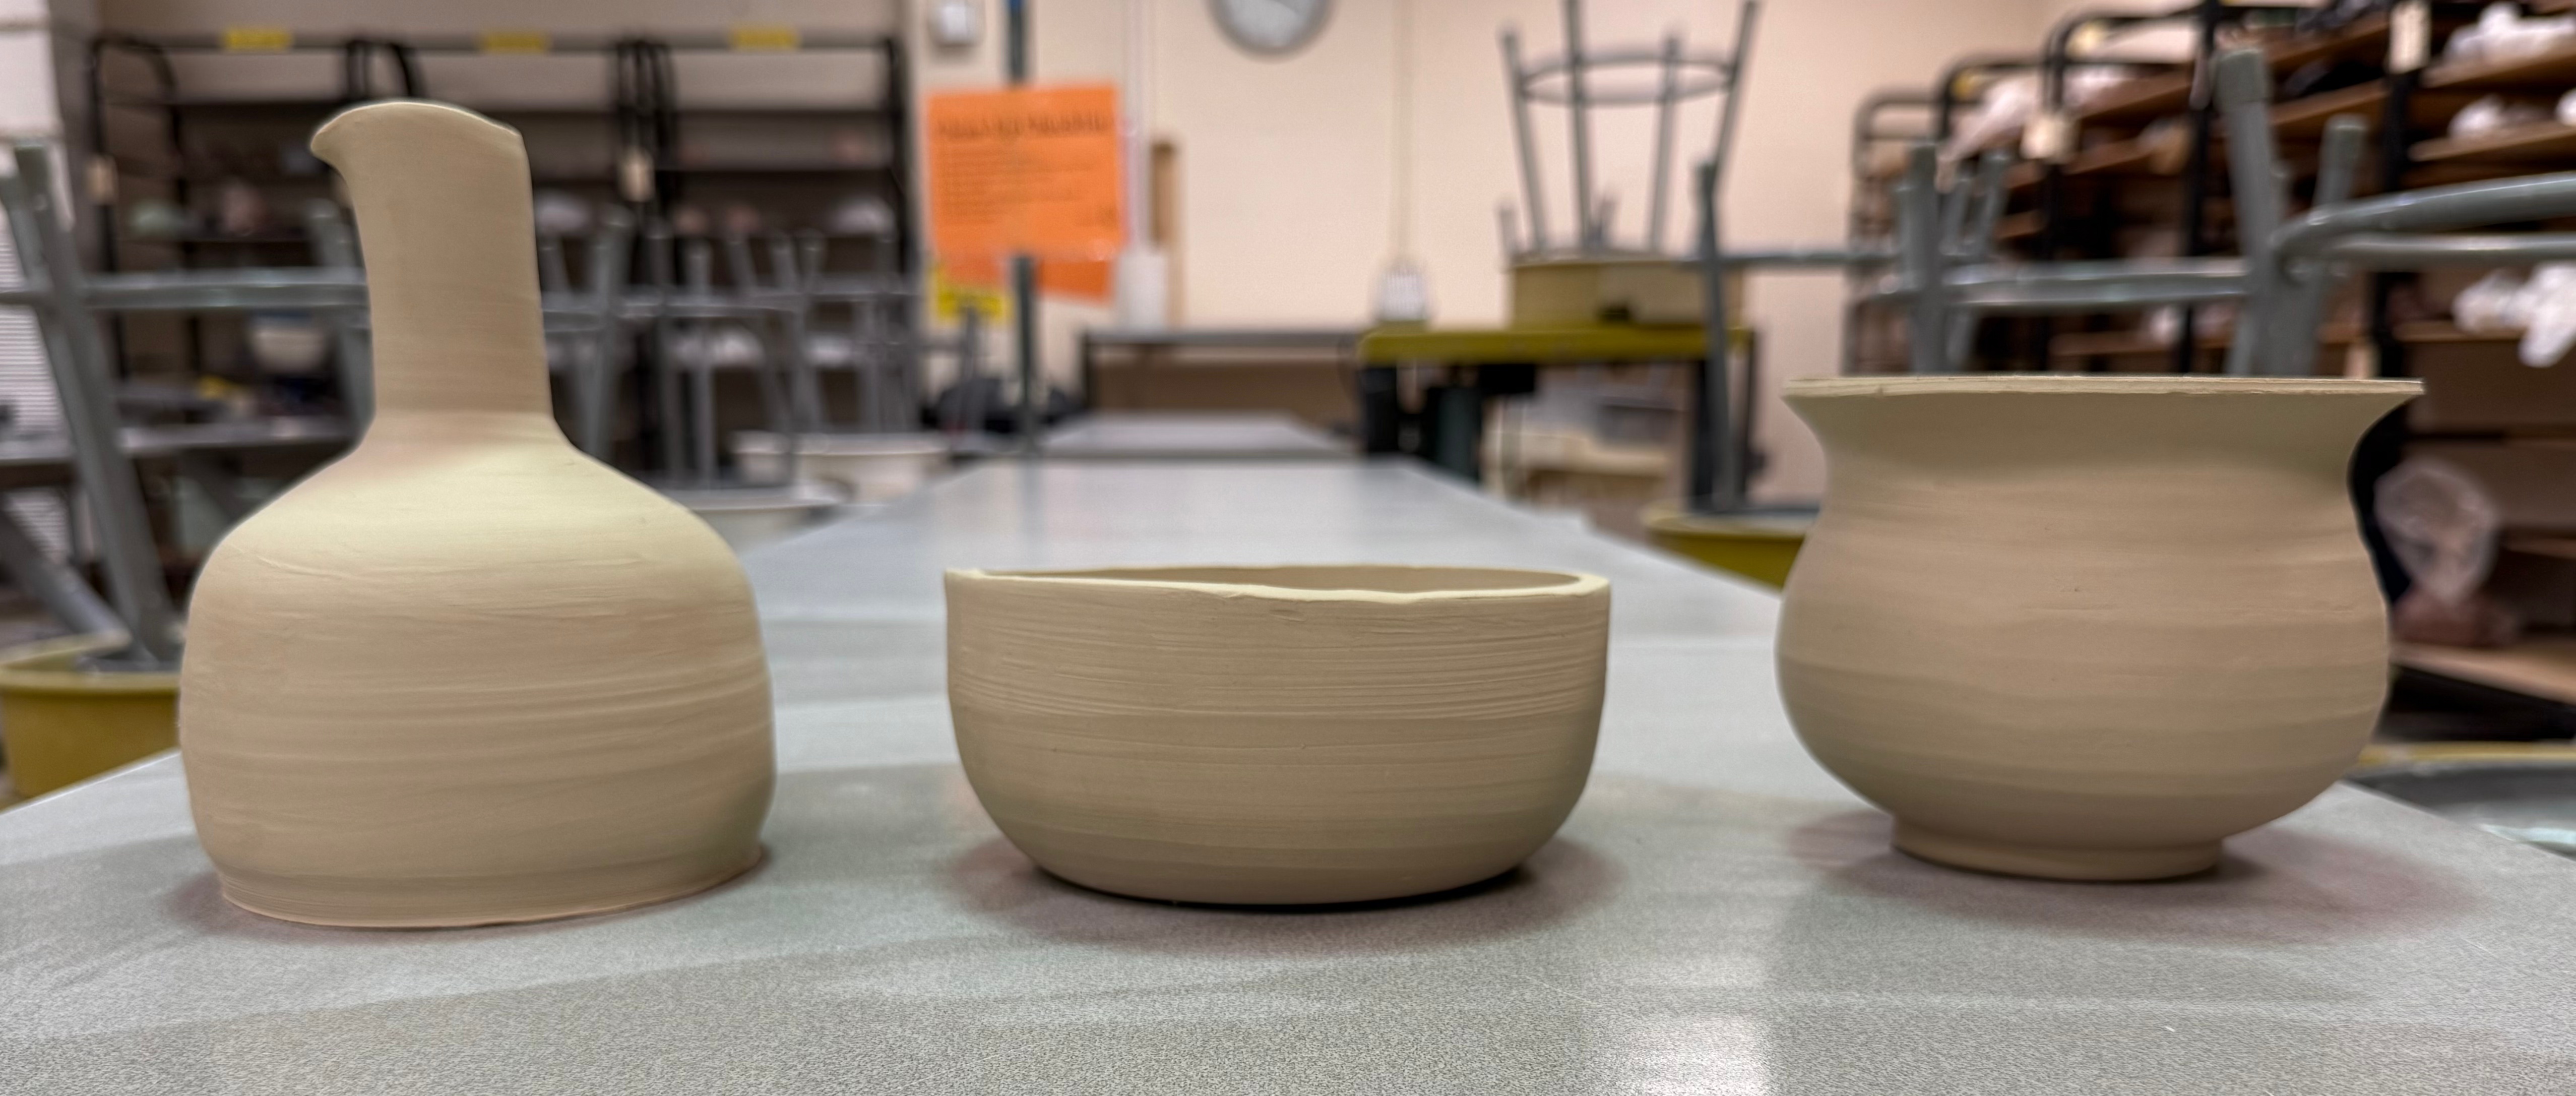
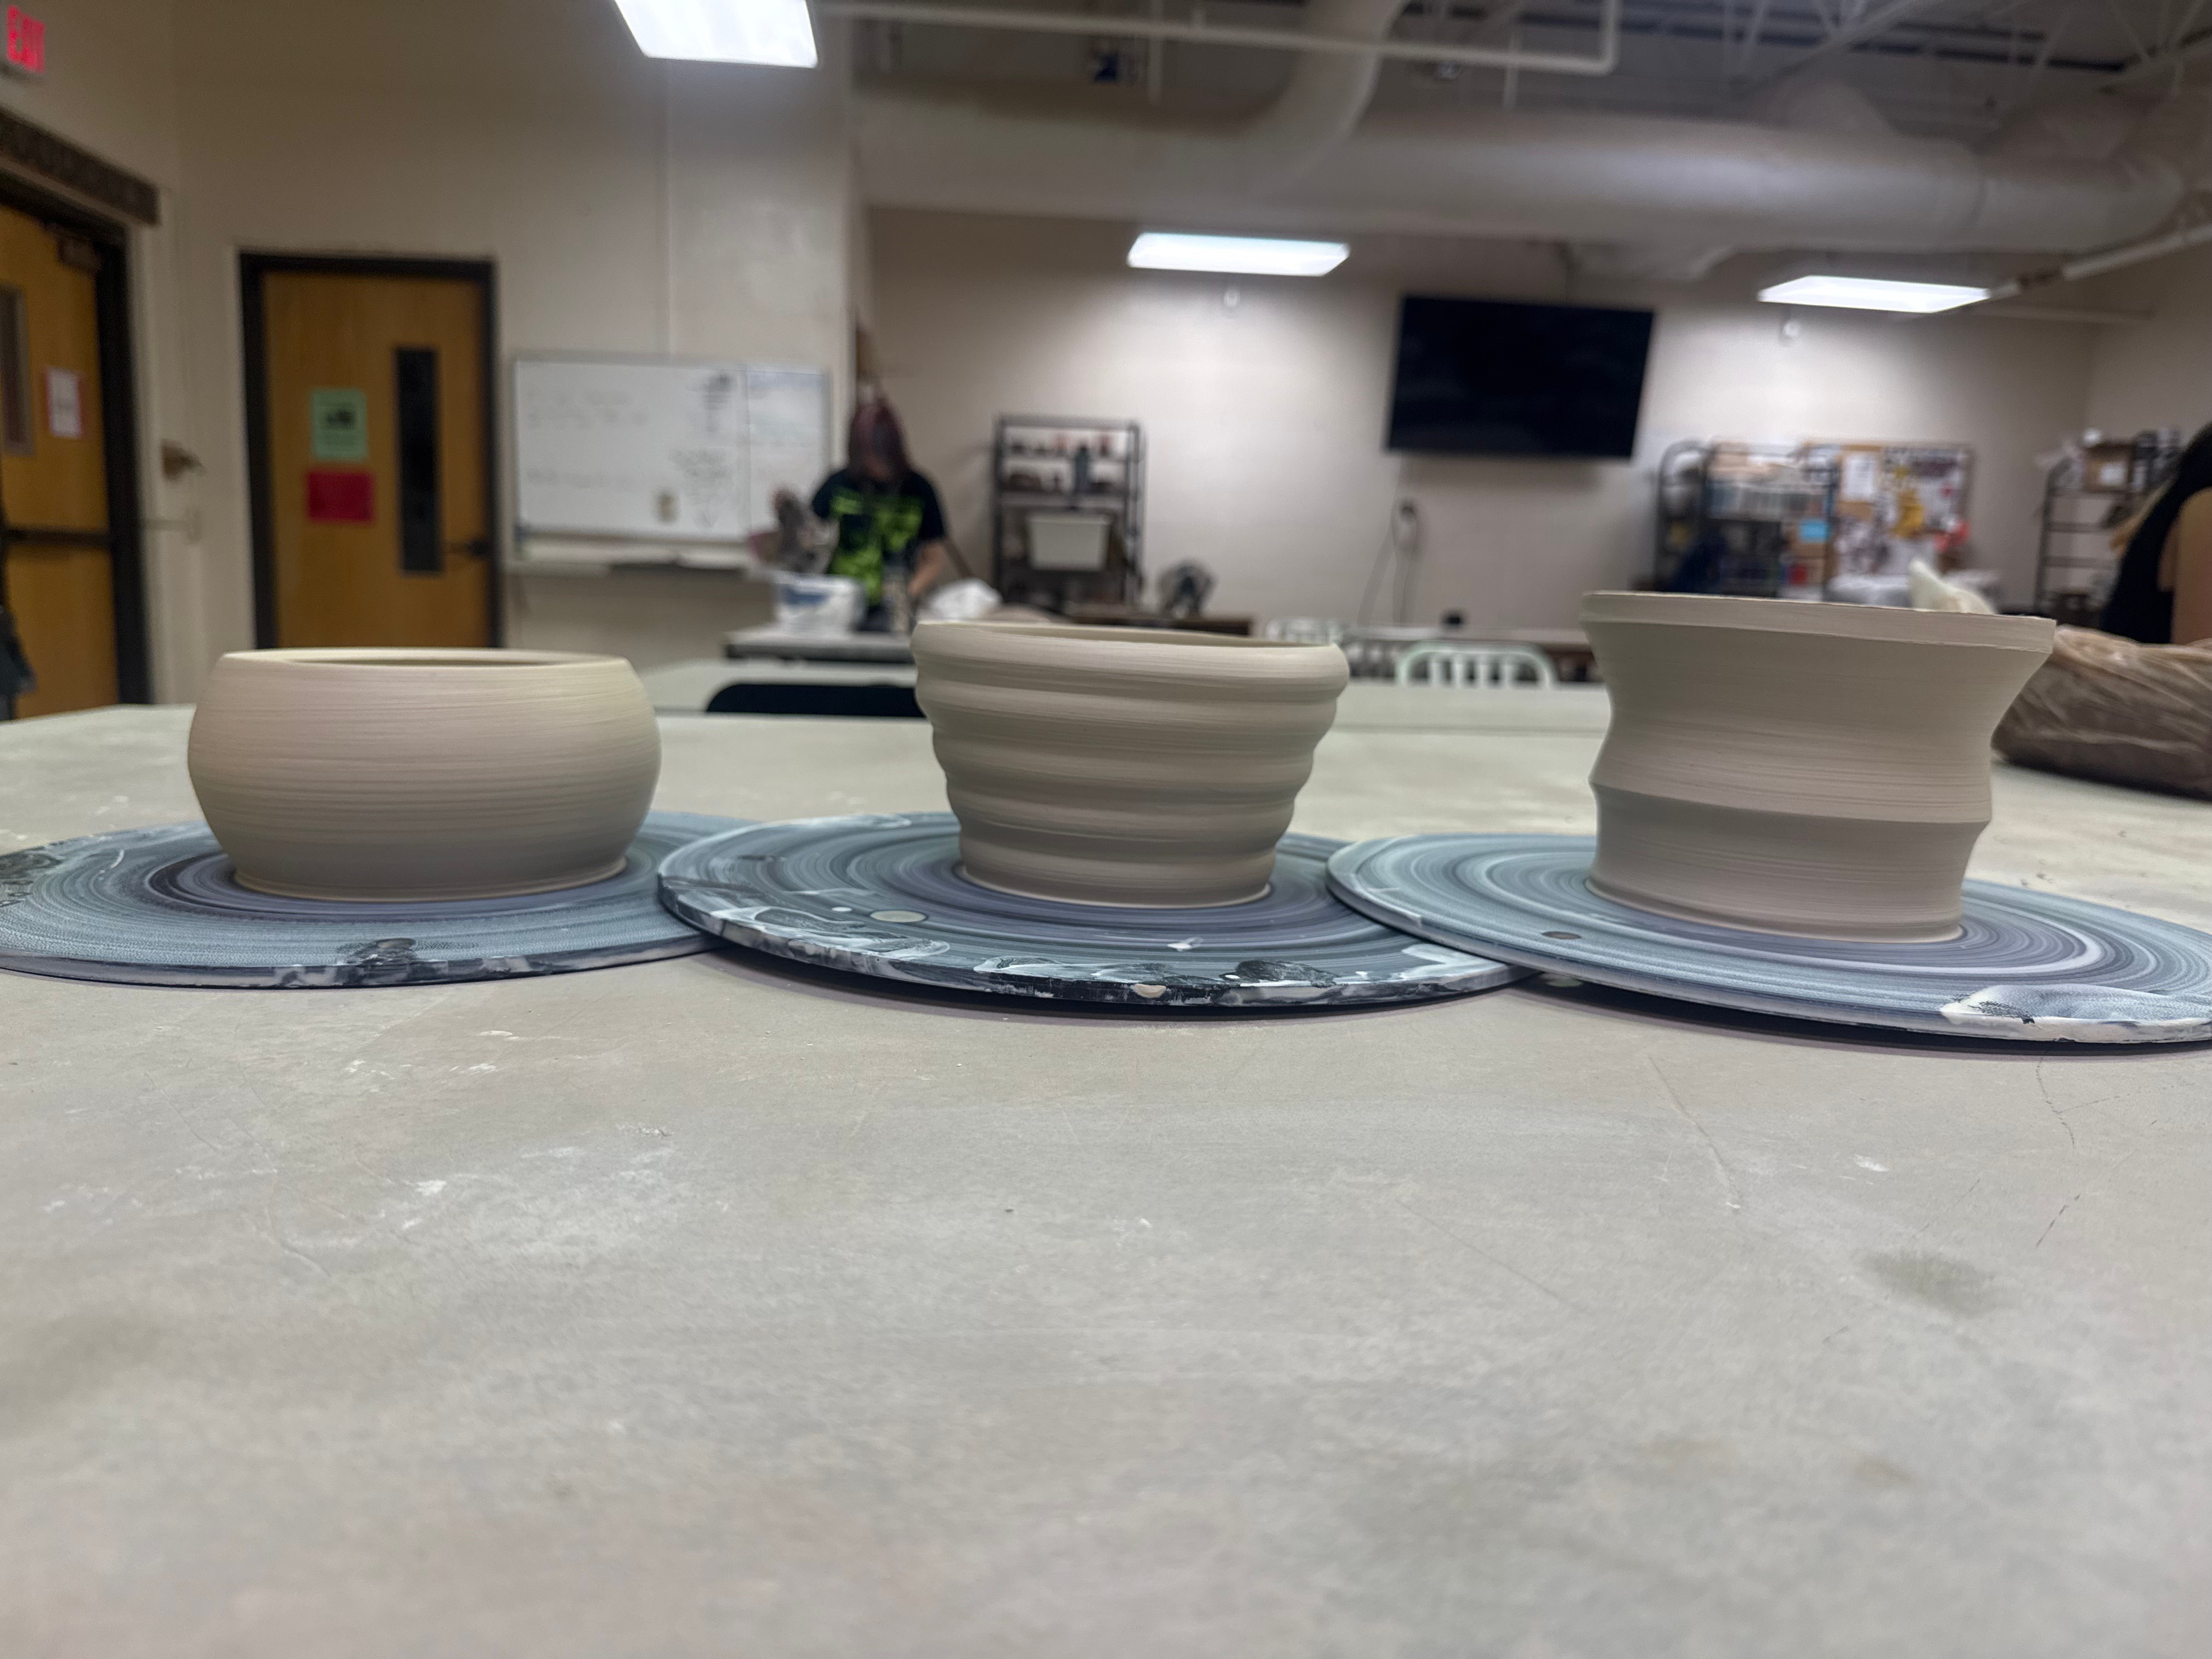
pinch Forms
For the first couple of weeks in my ceramic class, we have been working on pinch form (basically bowls). To make a pinch form, you take a ball of clay and create a hole in the middle with your thumb, then work the edges around the hole with your hands until they become the thickness you want them to be. We had to make ten identical pinch forms for class. Now, we’re using them to practice different ceramic techniques.
We did nine techniques in total. The first form is a burnished surface bowl. In order to create the glassy, dark, effect I rubbed a metal spoon against the clay for a long time to compress it. Then, I carved in a design. The second form was a sgraffito bowl. To make this form we covered our forms in two layers of colored slip, which is watered down clay with colors added into it, and after it dried we carved out a pattern. The third form was a color wheel with different colored slips in the studio so we could test out using them and see what they look like after being fired. The fourth form was a cut out design and the fifth form was an imprinted texture design. Both the fourth and fifth bowl had to have a repeating design with the fourth focusing on negative space and the fifth focusing on movement.
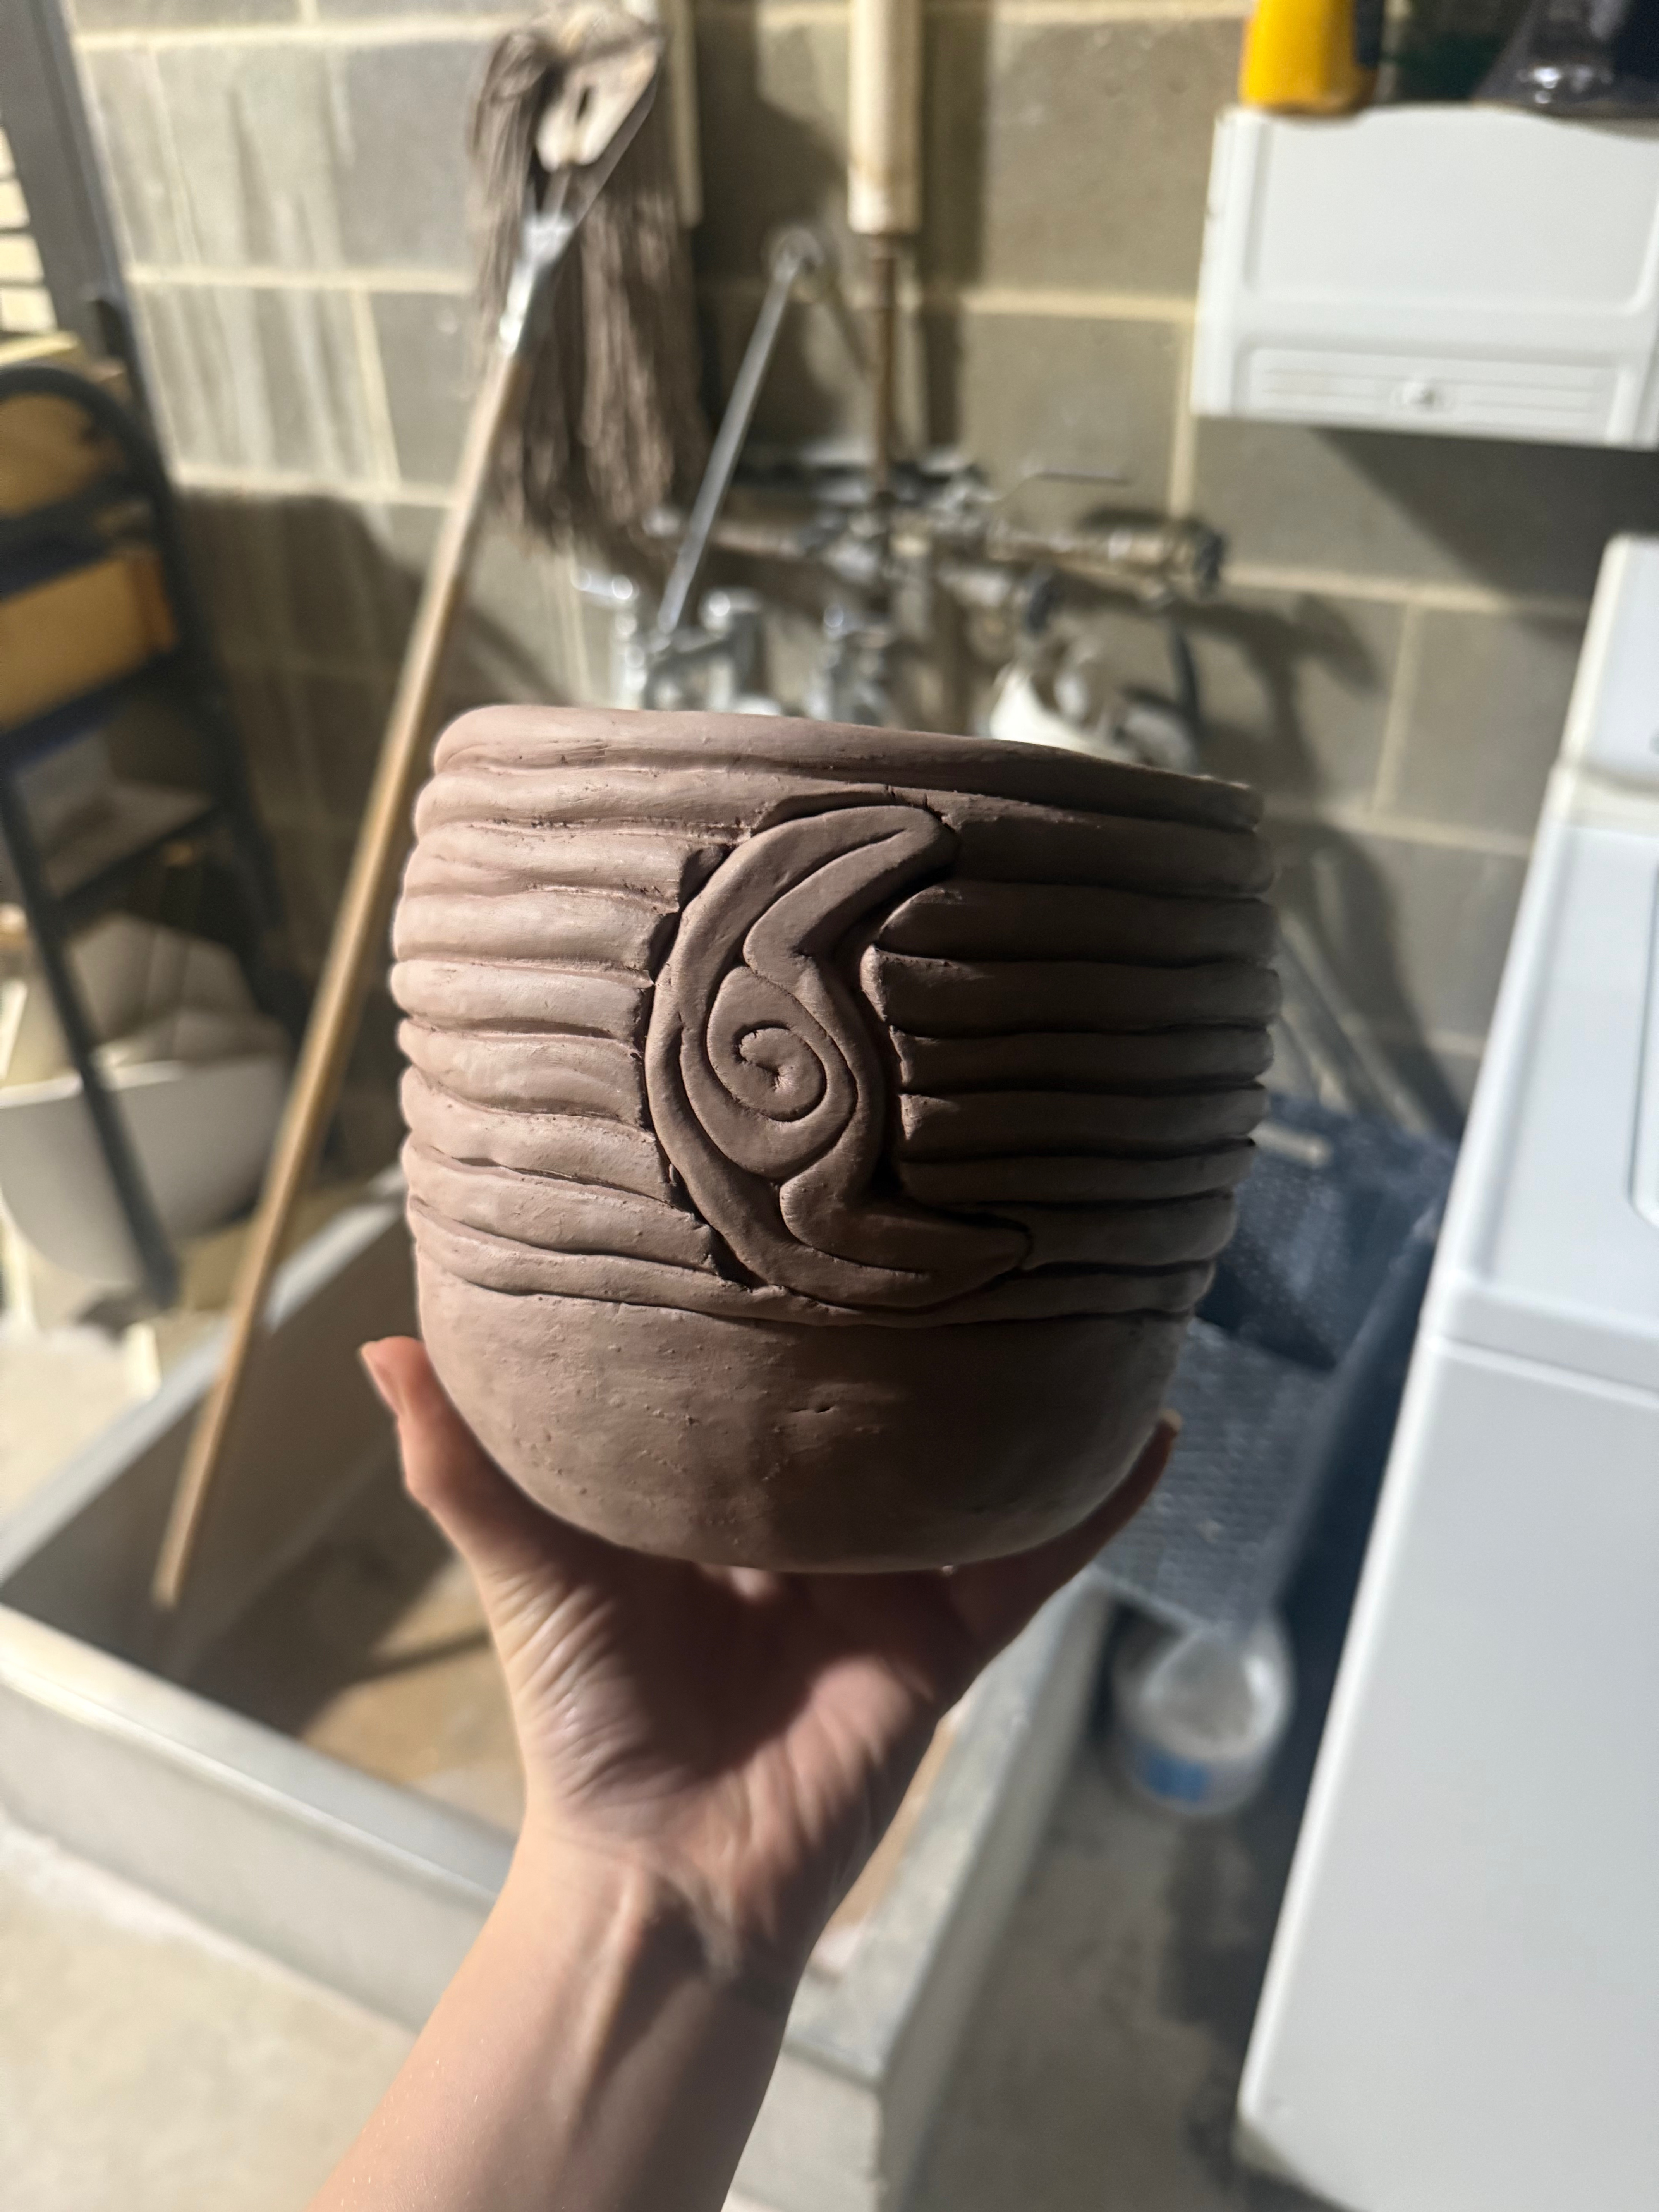
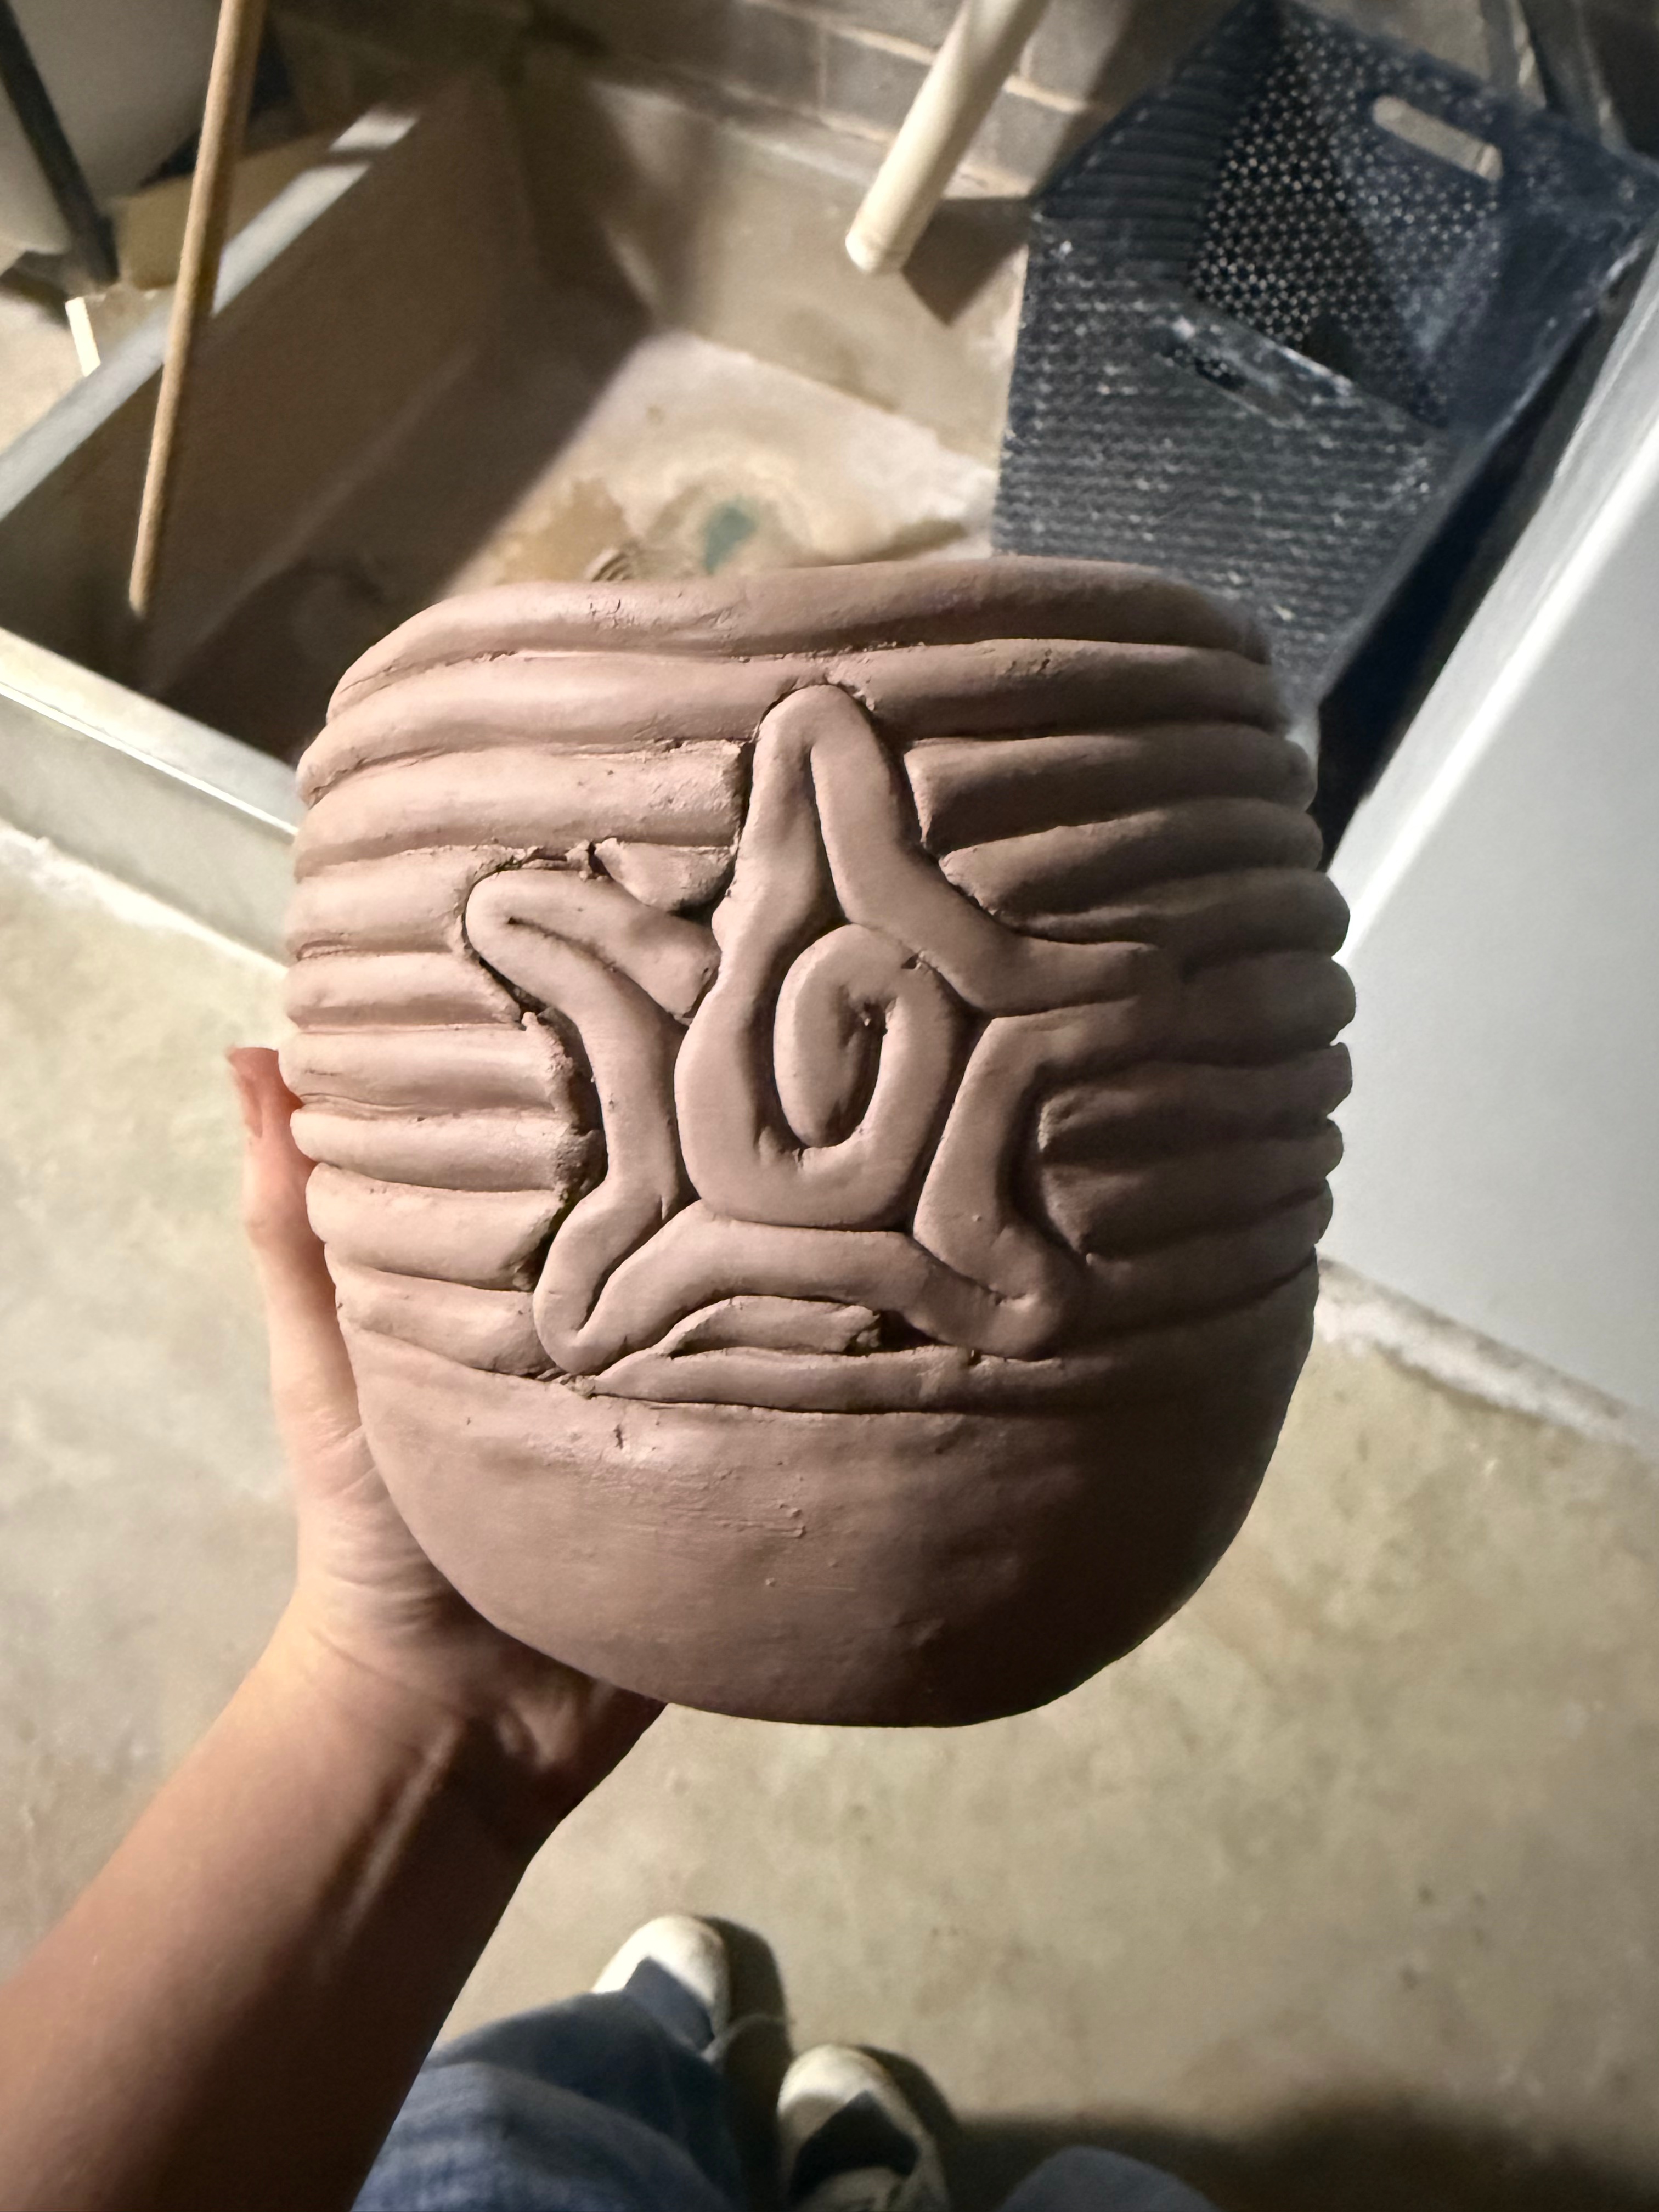
Coil Flower Pot
seventh Technique
For our seventh technique and pinch form, we made coil flower pots. These pots had to be six inches tall, include some sort of design, and show the coils. I find the method of making pots without smoothing out the coils very time consuming because in order for it to look good, you have to make sure all the coils look the same and are pretty. I chose to put two stars and a crescent moon on my flower pot.
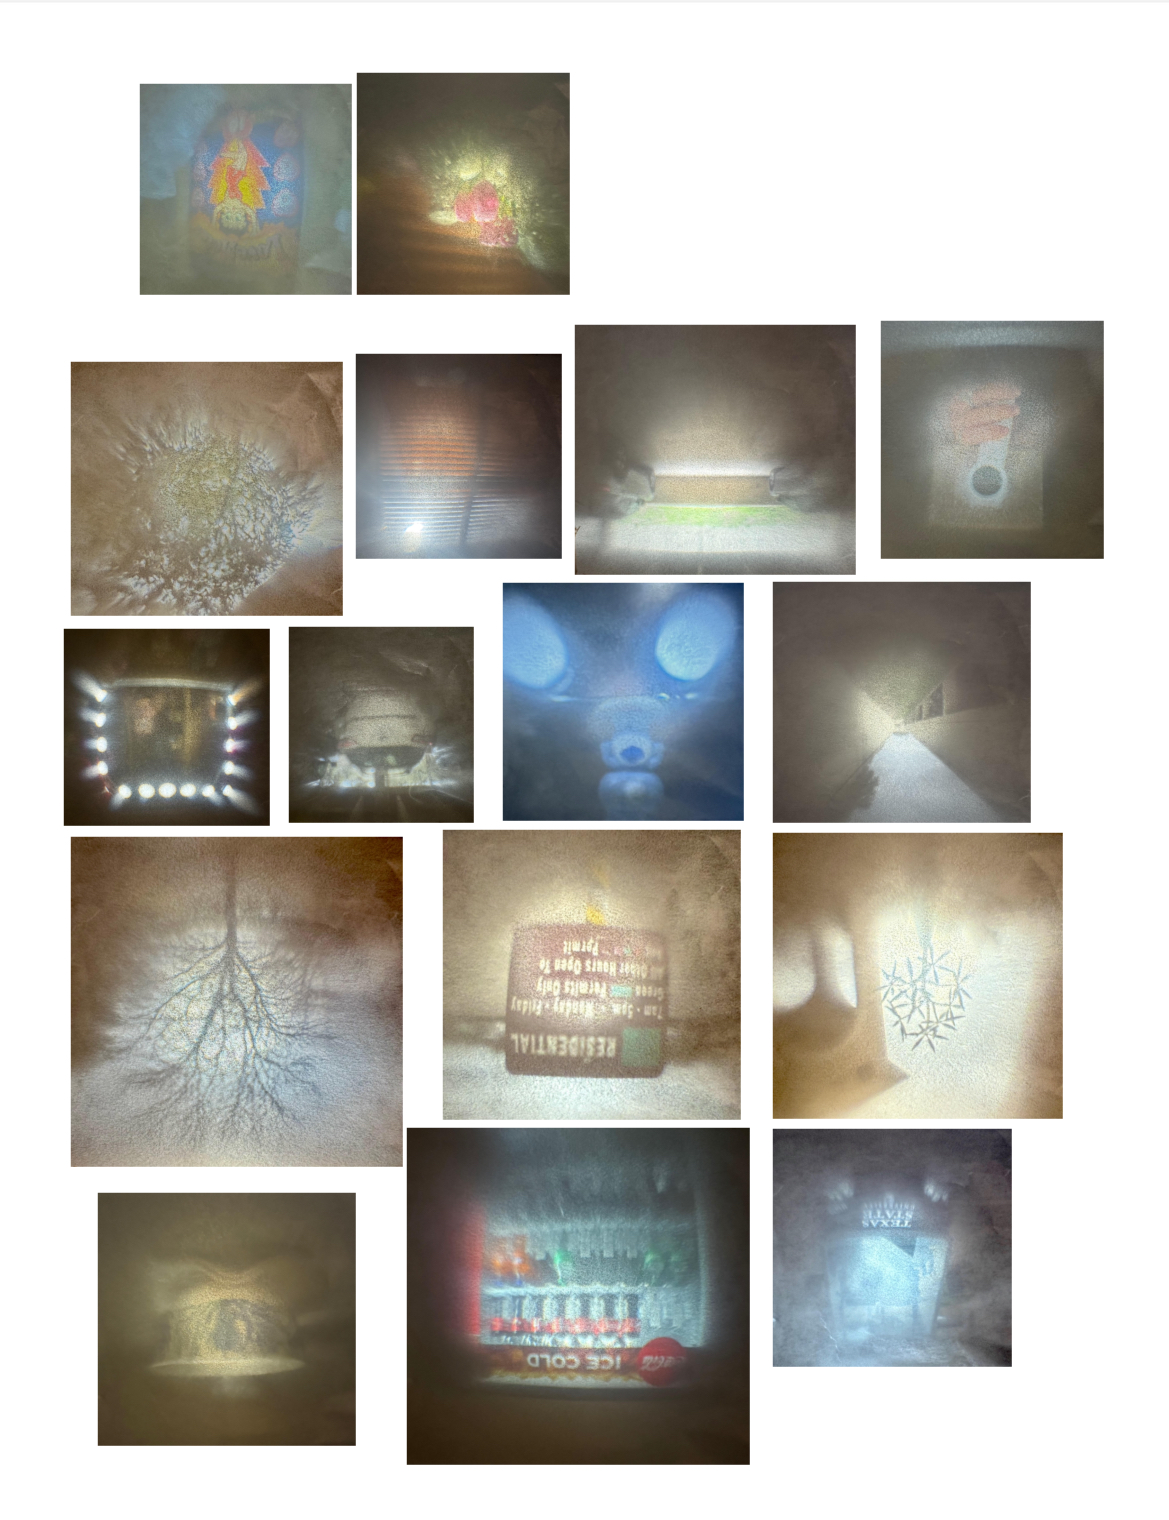
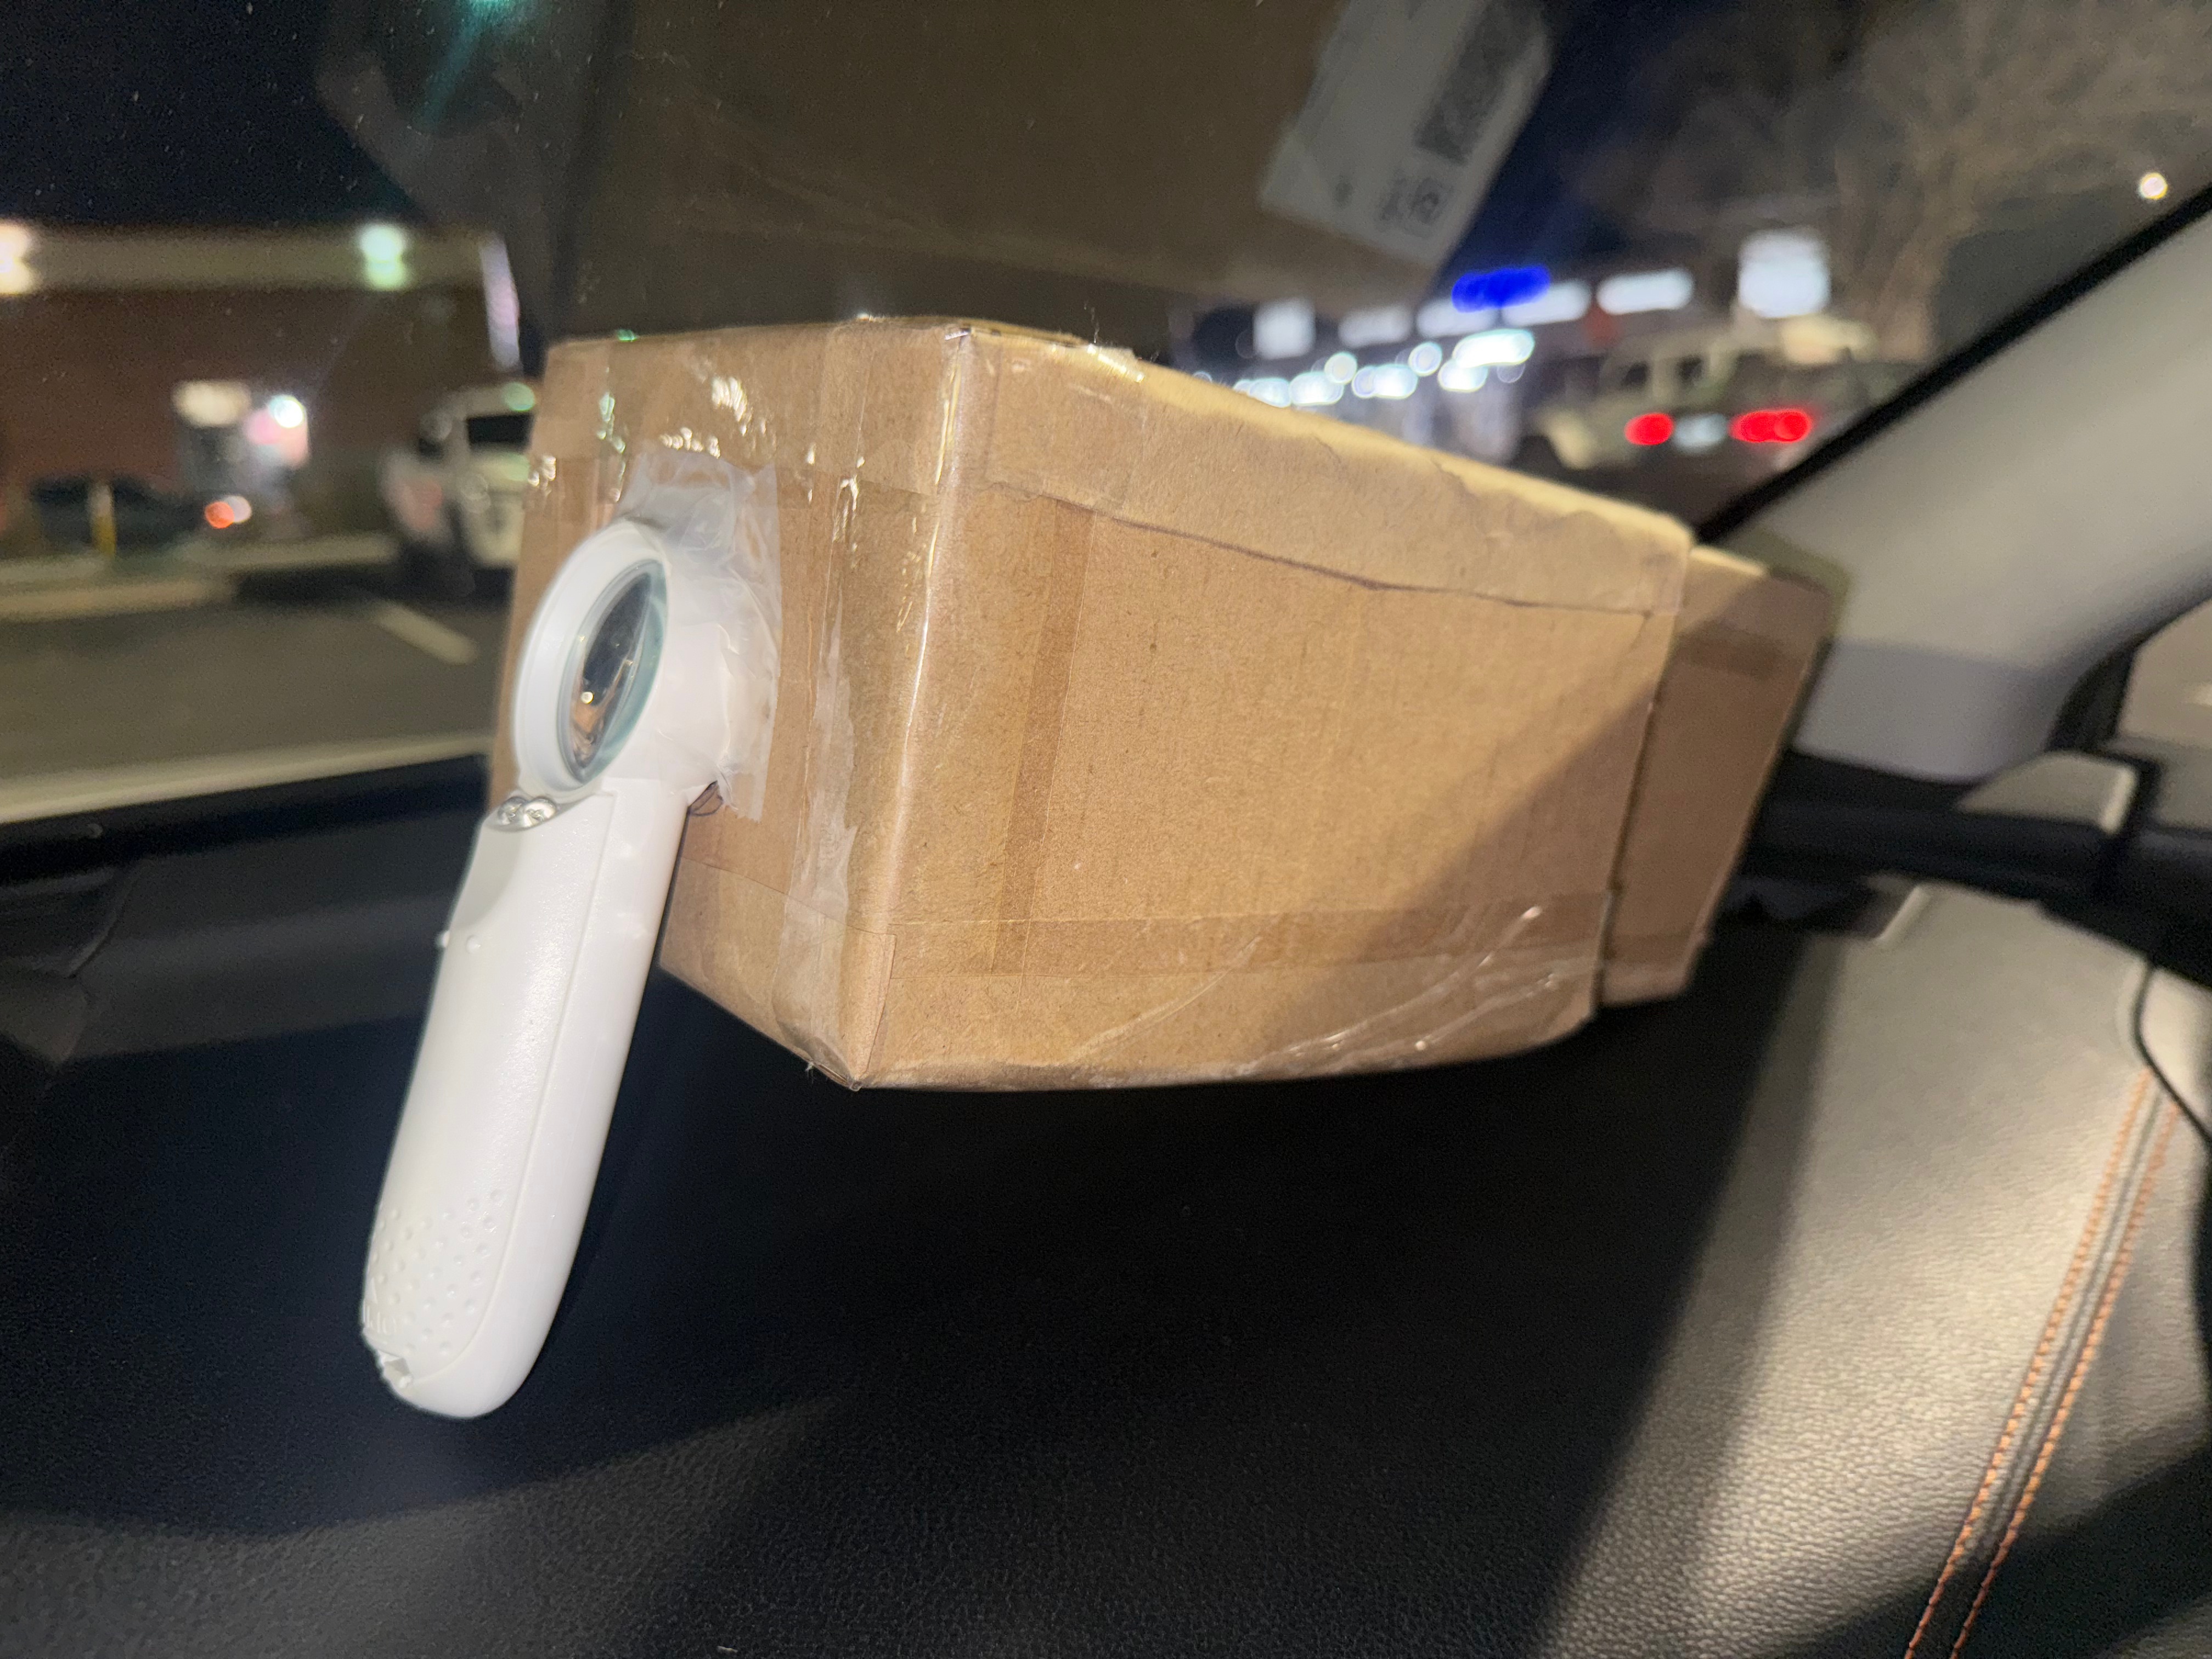
Camera Obscura
camera & pictures
In my core two class we made a camera obscura. To make this camera we made two cardboards boxes, one of which needed to fit into the other. Then, we cut a hole and attached a magnifying glass to the front of the larger box and placed tracing paper over the front of the smaller box (which didn’t have a front cardboard piece or a back one). When you look through the camera at something lit up (either outside of some sort of light inside) it creates a picture on the tracing paper. I thought this project was very cool and that the photos came out pretty good. I liked how they had a filtered look to them.
Animation
-
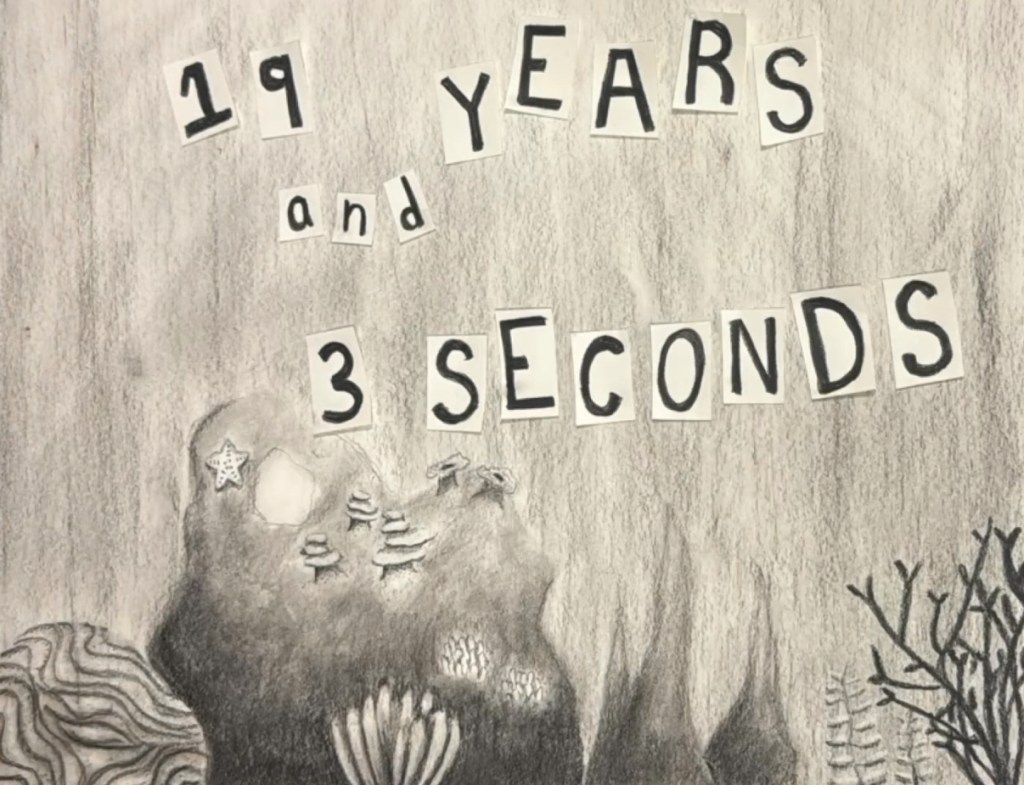
Charcoal Animation
In my studio two class we made a charcoal animation. For this project, we had to create a 30 to 90 second video depicting change. I chose to animate a coral reef growing slowly over the course of many years. Then, a scallop dredging ship was going to come by and wreck it. Scallop dredging is a terrible fishing industry practice where ships scrape large nets along the seafloor to catch certain seafood. It kills many corals, plants, and animals in its path.
We completed our animations and presented them to the class. I ended up adding pastels to mine to bring color into the corals, and then had a black line come across and ruin it all instead of a ship.
